



Will a Universal Spoiler Fit Your Car? A Rear Spoiler Fitment Guide
You find a spoiler you like, check that it is narrower than your car, and order it. Then you hold it against the trunk: the middle touches, both ends lift, and the tape would have to bridge the gaps. The advertised length was correct. The shape was wrong.
That is the central problem with universal spoiler fitment. A universal spoiler can fit several vehicles, but compatibility still depends on its mounting surface, attachment system and operating clearance. Width is only the first check.
For an everyday car, our usual recommendation is a well-documented, vehicle-specific spoiler. A universal design remains a reasonable option when its geometry and mounting requirements have been checked against the actual car. Here is how to make that distinction before removing adhesive backing or drilling a hole.
What Makes a Spoiler “Universal”?
A universal spoiler is designed around a shared shape, size or mounting arrangement instead of one exact vehicle body. Manufacturers can offer the same basic component across several applications, with less dependence on a particular trunk edge, factory hole pattern or roof-spoiler profile.
The adaptation happens in different ways. A flexible lip can follow a range of gentle curves. A molded spoiler has a fixed shape that may happen to match several mounting surfaces. A raised wing can use separate feet or brackets, allowing the upper element to be shared while its attachment is resolved for each application.
That distinction matters more than the label on the box.
| Market type | Where its adaptability comes from | What still has to match |
|---|---|---|
| Flexible lip or strip | A formable section; some products permit trimming | Approved bend limits, edge profile, adhesive surface and finished length |
| Molded universal lip or hatch spoiler | A standard span and relatively simple base contour | The vehicle’s curve, contact footprint and available mounting area |
| Raised universal wing | Separate supports; some designs offer mounting adjustments | Support spacing, foot angle, panel strength, fixing access and clearance |
| Vehicle-specific spoiler or extension | Geometry developed for a named vehicle application | Exact generation, body style, trim, factory spoiler and installation method |
Do not assume that every flexible product can be cut, or that every universal wing has adjustable feet. Those are individual product features. For the broader differences between lips, roof spoilers and raised wings, start with our guide to rear spoiler types and function.
Universal Spoiler Fitment: Dimensions to Check First
Measure the surface where the part will sit, rather than the vehicle’s overall width. A wide car can have a surprisingly narrow usable trunk edge, especially where the panel curves down toward the rear lamps.
| Measurement or check | Why it matters |
|---|---|
| Overall span | Shows where the spoiler ends will sit relative to the panel edges |
| Front-to-back depth | Determines how much panel area the part occupies |
| Mounting footprint | Shows the actual adhesive or foot contact area; this can be smaller than the visible body |
| Cross-car and front-to-back curvature | Determines whether the base sits naturally or rocks and lifts |
| Height and rearward projection | Affect appearance, visibility and the opening path |
| Support and hole spacing | Determine where a bolt-on part transfers its load into the vehicle |
| Clearance with the hatch fully open | Reveals contact that is invisible with the hatch closed |
Ask whether a quoted length is measured straight between the ends or along the curved part. Those measurements are not interchangeable. A top-view drawing, side profile and underside photograph are often more useful than another styled rear-view photograph.
A 990 mm Example: Enough Room Does Not Prove a Fit
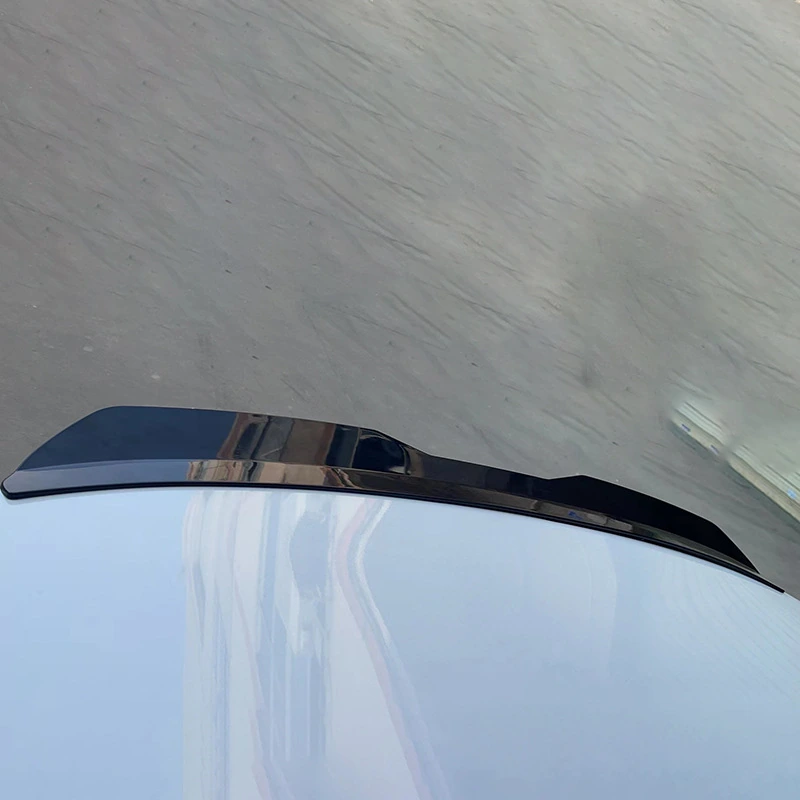
The 990 mm PP adhesive rear hatch spoiler in Yirox’s range is specified at 990 × 95 mm, with a net weight of 0.39 kg. Those dimensions describe the product, but they do not establish a compatible vehicle list or the size of its adhesive footprint.
Suppose a hatch has a measured usable width of 1,050 mm. Centering a 990 mm part leaves approximately 30 mm at either end. That is useful for planning its position. It tells you nothing about whether the underside follows the hatch’s curve or whether all the intended bonding areas make contact.
A simple full-size paper outline can help assess the position. It cannot reproduce a three-dimensional base. The next step is a dry fit with the actual part, without forcing it down.
Which Cars Are Better Candidates for a Universal Spoiler?
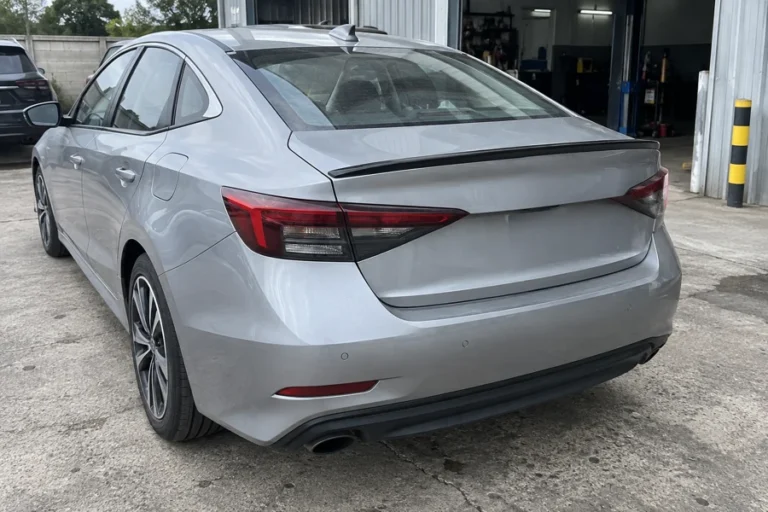
The shape of the mounting area matters more than the badge on the car. A broad, gently curved trunk edge or hatch surface gives a molded universal spoiler a more promising starting point. A narrow ledge, a compound curve or an existing factory spoiler can make the fit more difficult.
Body style alone is not enough to decide. Two hatchbacks can have very different roof edges, while different vehicle models may share a similar mounting contour. Compare the exact spoiler’s underside, dimensions and attachment method with the surface on your car, then check the full opening clearance.
For Yirox’s 990 mm adhesive spoiler, send us your vehicle year, body style, rear-panel photos and measurements for a fitment review before ordering. A dry fit with the actual part lets you check contact along the base before committing to installation.
The Problems a Width-Only Check Misses
Ends That Lift or a Base That Rocks
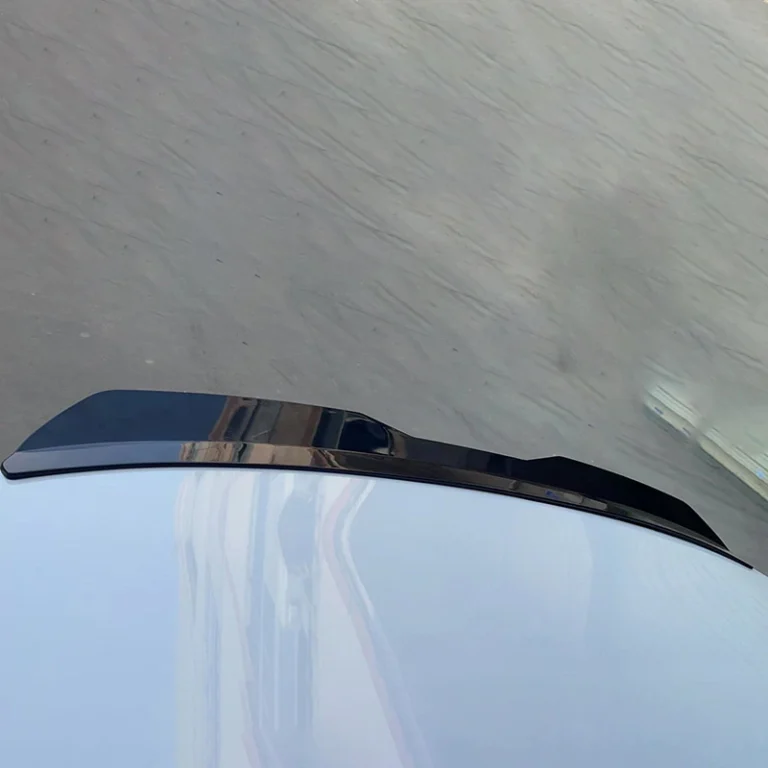
A rigid spoiler may contact the center of a panel while leaving its ends unsupported. Pressing the ends down can leave the part under tension after fitting. Adding layers of tape changes the bond line but does not correct the underlying geometry.
If the base springs away when you release it, stop and resolve the fit. Do not heat, cut or reshape a molded part unless its manufacturer permits that method.
Good Appearance, Poor Adhesive Contact
The visible outline may look right while the intended bonding area touches only a narrow ridge. Paint condition, coatings, wraps and the spoiler’s own underside also affect the attachment system.
PP can require surface treatment to achieve a reliable adhesive bond. Ask the spoiler supplier which tape and surface preparation are specified for the part, and follow those instructions together. The adhesive needs to suit both the spoiler’s underside and the vehicle’s mounting surface.
A Hatch That Opens Into the New Part
Check the full opening path, not just the closed position. Depending on location, a spoiler can approach the roof, glass, existing trim or another spoiler as the hatch moves. Also check rear-wiper travel and whether cameras or the high-mounted brake light remain unobstructed.
Mounting Feet That Land in the Wrong Place
On a raised wing, the visible span and the support spacing are separate dimensions. A wing can look proportional to the car while its mounting feet land on a curved edge or an inaccessible section of the panel. Ask for the distance between the mounting centers, the dimensions of each foot and the fixing layout before choosing a position.
The proposed fixing position also needs usable access underneath and support appropriate to the kit. A hole in the correct position on the outer skin does not, by itself, establish a suitable attachment.
Unexpected Finishing and Repair Work
Paint preparation, unsuitable existing holes, sealing work and old adhesive removal can change the cost of fitting a universal part. A low purchase price is less useful if the installer must spend hours correcting its interface with the car.
Physical fit also does not prove improved handling, reduced drag or extra EV range. Those results require evidence for the actual vehicle and component combination.
How Universal Spoilers Are Usually Installed
The fitting method follows the product design. A small tape-mounted lip and a raised wing do not share one installation procedure.
Adhesive Lips and Low Spoilers
A straightforward adhesive installation may suit a careful DIY owner when the part fits naturally and the kit provides clear instructions.
- Dry-fit the part. Check the base, position, symmetry and all opening clearances before exposing adhesive.
- Identify the bonding system. Confirm the specified tape or adhesive, compatible surfaces and any required treatment.
- Prepare the surfaces as instructed. Use products compatible with the paint, coating and spoiler material. Do not improvise with aggressive solvents or abrasion on visible finishes.
- Position and apply pressure. Use the kit’s alignment method and specified pressure so the intended bonding areas engage.
- Allow the specified bond-development period. Follow the actual product instructions for temperature, time before driving and washing restrictions.
Surface preparation, application temperature and firm pressure all affect an adhesive installation. Use the timing and conditions specified for the tape or adhesive supplied with your kit. “Leave it for 24 hours” is not a universal installation specification.
Bolted Wings and Mixed Attachment Systems
Bolted installations require a verified drilling template or measured fixing layout, access below the panel, the specified fasteners and any required backing or reinforcement. New holes also need the appropriate sealing and corrosion protection for the panel material.
A kit may combine adhesive with mechanical fixings. Follow that complete arrangement: tape does not replace bolts simply because drilling is inconvenient. Work involving uncertain panel support, drilling, wiring or modifications to an active spoiler belongs with a qualified installer.
“Universal” describes the application approach. It does not mean removable without marks, installable without instructions or suitable for adhesive-only mounting.
Why Factories Develop Universal Spoilers—and How the Design Reaches Production
From a manufacturer’s perspective, a universal range can serve several applications using a shared part, tool or upper wing element. That can spread development work across more orders and simplify stocking. The trade-off is that the manufacturer must define the limits of adaptation clearly.
For a molded plastic design, the following is a sensible development sequence. Flexible extrusions and composite wings use different production routes.
1. Define the Intended Application Range
Start with the intended mounting location and customer need: a low styling lip, a roof extension or a raised wing. Compare representative panel widths, curves and available mounting areas. A useful design brief defines which shapes it is intended to accommodate, and which are excluded.
For a vehicle-specific part, this stage instead centers on the exact vehicle surface and relevant model variations. The rear panel is a design input, rather than something the installer must reconcile later.
2. Develop the Base and Attachment Together
The visible upper surface is only part of the design. The underside needs usable bonding lands or mounting feet. Engineers must consider how the attachment carries loads, how it can be installed and whether the fitting points are accessible.
A standard upper shape may work with different bases. Conversely, changing a lip’s finish will not solve an incompatible underside.
3. Review the Material and Molded Geometry
Material selection affects stiffness, molding behavior, finishing and bonding. The design review should consider wall transitions, ribs, draft and how the part will leave the tool. Protolabs’ wall-thickness guidance explains the relationship between inconsistent walls, sink and warping; its draft guidance explains release from the mold.
For a long spoiler, shape consistency is a fitment issue. A part that looks satisfactory from above may have a bowed mounting face underneath.
4. Make Samples and Check Real Applications
A prototype helps assess the outline and position, but production-material samples are needed to review the manufactured shape and attachment surfaces. Trial fitting should record the vehicle generation, body version, trim, mounting method and any adjustments.
This is where a broad design intention becomes an evidence-based application list. A photograph alone is less useful than a record showing the underside contact, opening clearance and exact part fitted.
5. Approve Finish, Attachment and Instructions
Review the visible finish alongside the bonding area or hardware interface. Paint, surface treatments and attachment preparation need to be compatible. Instructions should identify the part, installation method and application limits that were actually approved.
If aerodynamic benefits are part of the sales claim, assess those separately on the relevant application. A successful fit check establishes fitment, not performance.
6. Control Repeat Production and Packing
Keep an approved reference sample and dimensional checks for the features that decide fit. Inspect the mounting face as well as the visible surface. Packaging should support the long part and protect its ends and finish during transport.
The production target is a repeatable component that matches the approved specification. Selling it for more vehicles should follow additional application checks, rather than a broader label on the carton.
Why We Usually Recommend a Vehicle-Specific Spoiler
For a daily-driver installation, the strongest reason is the interface with the car. A properly developed application-specific part can account for the panel contour, end shape, factory spoiler and fixing arrangement from the outset.
That usually gives the buyer and installer a more useful starting point than a generic width specification. It can also make instructions, replacement hardware and repeat orders easier to identify. Compare the complete fitted cost, including preparation and correction work, rather than the part price alone.
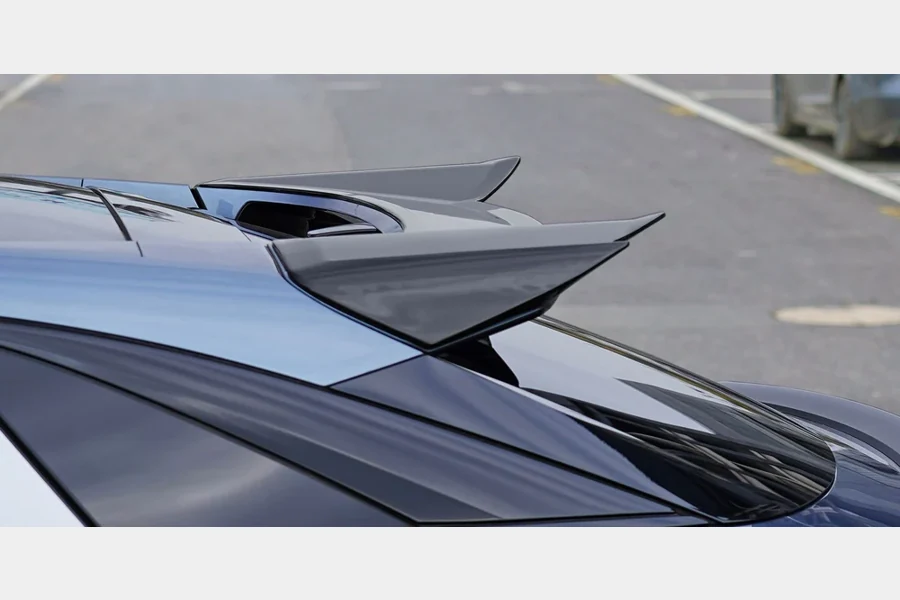
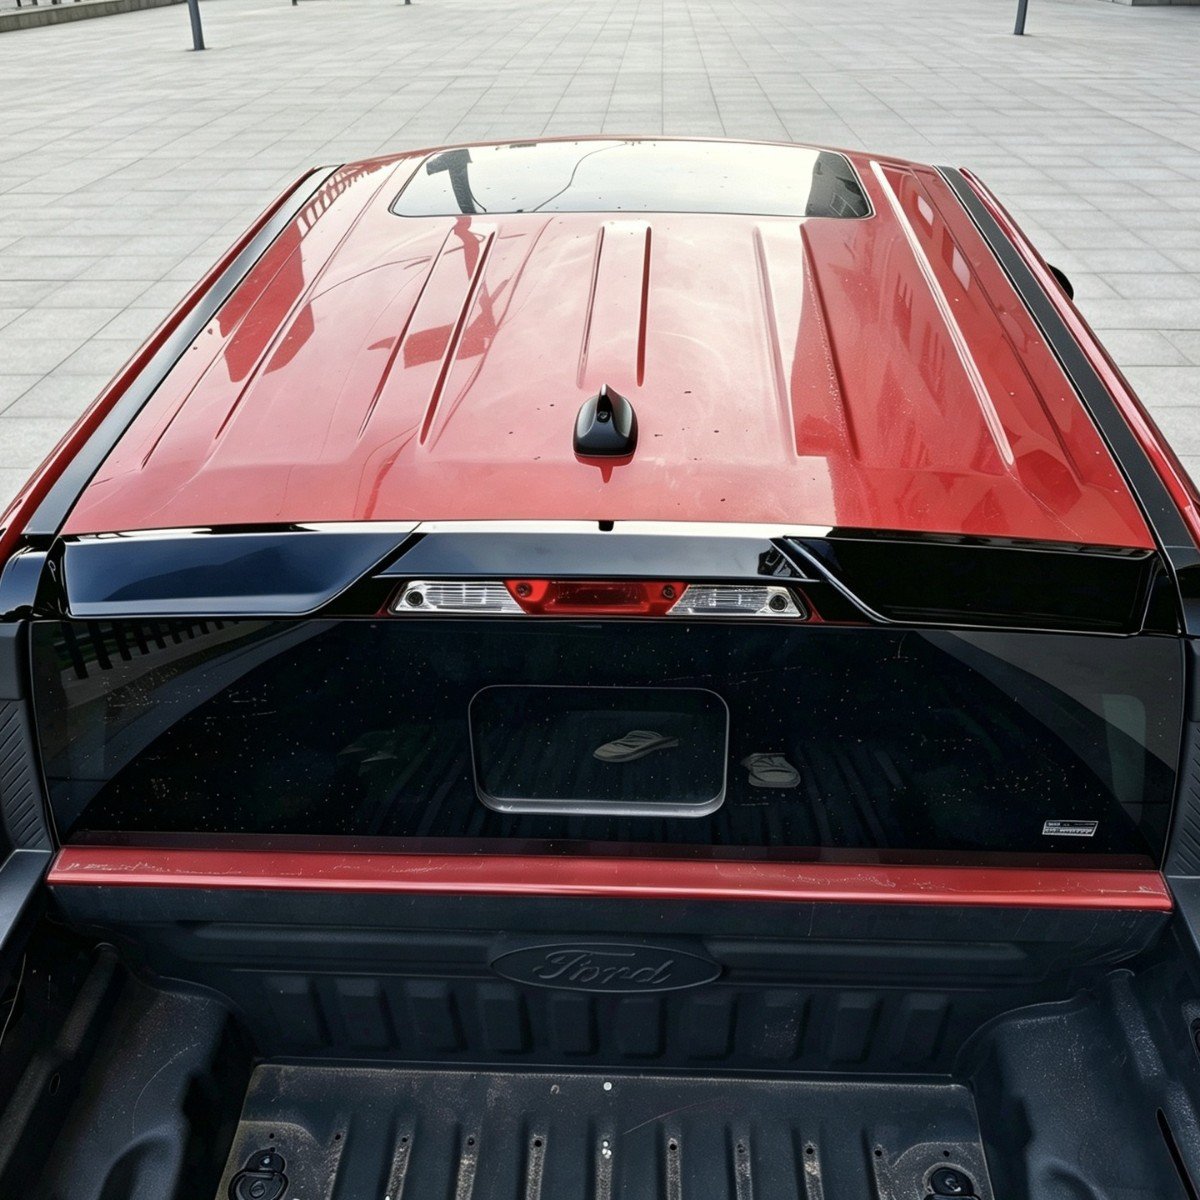
Vehicle-specific does not automatically mean well made, factory approved or suitable for every trim. Verify generation, body style, regional version and whether the part replaces an original spoiler or attaches to it. An aftermarket vehicle-specific part also is not necessarily an OEM part.
| Your situation | Sensible starting point |
|---|---|
| You want close integration and straightforward daily use | A documented vehicle-specific design |
| You want a modest lip and have a simple, compatible mounting surface | A universal lip with confirmed contact and clear instructions |
| No dedicated option exists for the vehicle | A universal design reviewed by a competent installer |
| You are building a raised-wing or track application | An engineered mounting solution with relevant performance evidence |
| You are buying repeat stock for a named vehicle | An approved application sample and controlled specification |
Questions Buyers Commonly Ask
Can a universal spoiler fit any car?
No. A particular design may fit several cars, but the base, fixing arrangement and opening clearances must work on each application. Compatibility with one universal product does not establish compatibility with another.
Can I cut a 990 mm molded spoiler to make it fit?
Only if the product manufacturer specifically permits it. Trimming can change the ends, finish and attachment areas. Instructions for a cut-to-length strip do not apply automatically to a molded spoiler.
Is adhesive mounting always enough?
Only for a part designed and specified for that method on suitable surfaces. Raised wings or kits with mechanical fixings must use their specified attachment system.
What should I send for a fitment review?
Provide the model, year, generation, body style, trim and market; rear, side and mounting-surface photos; usable width; and details of existing holes, spoilers, coatings or modifications. Request confirmation for the exact part number and finish. A physical dry fit remains valuable before final installation.
Useful Next Reading
- OEM versus aftermarket exterior accessories — compare sourcing routes after choosing the application.
- BYD body kit installation guide — a vehicle-focused preparation reference; use the individual spoiler’s instructions for attachment details.
About Yirox
Yirox is an automotive parts manufacturer and supplier based in Wuxi, China. Its spoilers and wings range supports discussions about fitment, samples, wholesale supply and custom development. Share the vehicle details and intended mounting location so the part, installation approach and packing requirements can be reviewed together.