



EV charging cable bend radius is the smallest curve a cable should make without risking damage, and the correct value depends on cable construction and the manufacturer specification. Route the cable with smooth bends, support its weight, and avoid sharp edges, crushing, twisting, or long-term tension at the connector.
For a home charger, a small fleet, or a commercial charging site, cable routing is not just a neatness issue. The cable has to reach the vehicle while handling repeated movement, weather, storage, and the weight of the connector. A cable holder, wall hook, or mounting clip can help, but it cannot make an unsuitable bend safe. Start with the cable datasheet and the actual site path, then choose support hardware around those facts.
This guide explains the basics for installers, facility managers, fleet operators, and buyers who need a practical way to prevent kinks and unnecessary load at the connector.
Table of Contents
- What does bend radius mean for an EV charging cable?
- Why can tight bends cause problems?
- How should you route a cable around a wallbox?
- How do strain relief and hanging weight affect a connector?
- How should you inspect an EV charging cable and its support points?
- What should buyers verify before choosing cable-routing accessories?
- Conclusion: Support the Cable Before It Loads the Connector
- Frequently Asked Questions
- References
What does bend radius mean for an EV charging cable?
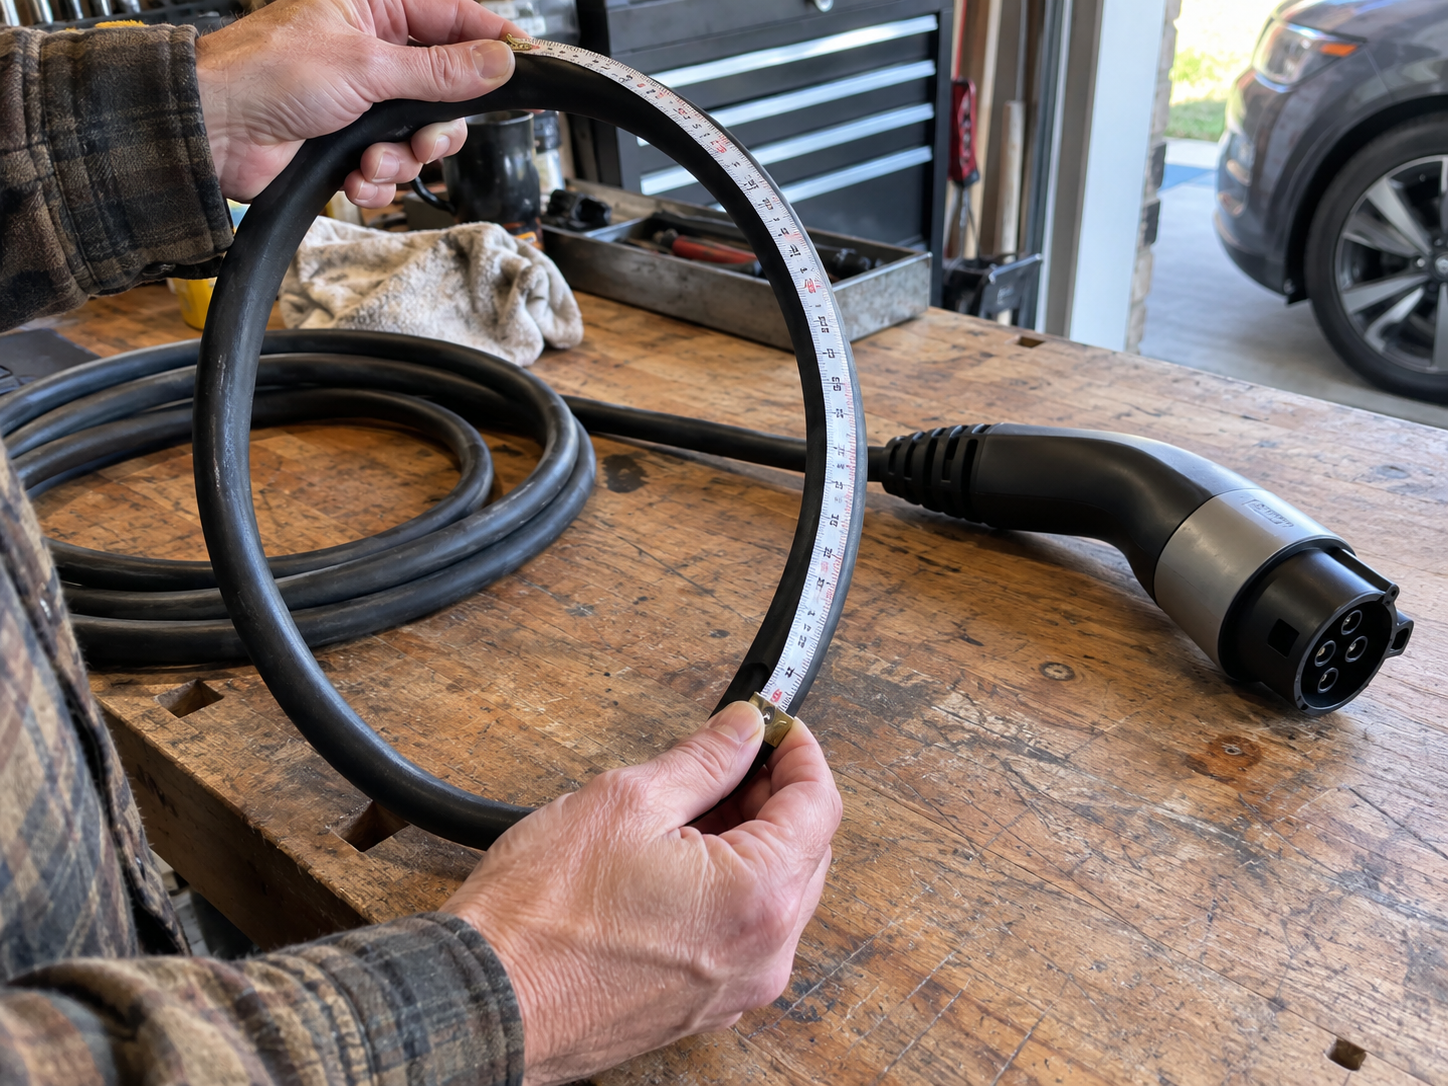
Bend radius is the radius of the smallest permitted curve, normally measured from the cable centerline, that the cable can make without exceeding the manufacturer’s mechanical limit. It is not the same as the outside diameter, and it is not a universal number that can be safely copied from another cable.
The required value depends on conductor layout, insulation, jacket construction, shielding, cooling features, connector transition, and whether the cable is stationary or repeatedly flexed. A supplier may publish separate static and dynamic values, a minimum temperature, or a preferred bend direction. If the datasheet is silent, ask for written confirmation before specifying a holder or routing path.
| Term | What it means | What to record before installation |
|---|---|---|
| Bend radius | The size of the curve the cable is allowed to make | Manufacturer value and measurement reference |
| Minimum bend radius | The smallest permitted curve under stated conditions | Static or dynamic condition, temperature, and direction |
| Static bend | A cable remains in one installed position | Installation path, storage position, and support spacing |
| Dynamic bend | A cable flexes repeatedly during use or storage | Movement cycle, travel path, and expected frequency |
| Cable diameter | The outside size of the cable jacket | Actual measured diameter, not a catalog assumption |
| Strain relief | A transition or support that reduces force at a termination | Boot, housing, clip, hook, or mount location |
The number only becomes useful when it is attached to a specific cable SKU and operating condition. Record the cable model, revision, diameter, length, weight, connector type, and temperature range together. This is one reason a complete EV charging accessories buying guide should be used as a decision framework rather than selecting an accessory from a connector photo alone.
Why can tight bends cause problems?
Tight bends can concentrate mechanical stress in the jacket, insulation, conductors, shield, connector boot, and strain-relief transition. Repeated flexing, twisting, side pull, crushing, sharp edges, and heat or UV exposure can accelerate wear even when the cable still appears to charge normally. IEC 62196-1 addresses general requirements and testing for EV plugs, vehicle connectors, inlets, and cable assemblies, but it does not turn one generic bend number into a safe value for every product.[1]
Common failure paths include:
- A cable is folded behind a wallbox because the vehicle parks too close to one side.
- The connector hangs from the vehicle inlet while the cable weight pulls downward.
- A tight coil is stored on a small hook, creating a small-radius bend that remains for hours.
- A cable crosses a door, wheel path, or sharp mounting edge and is repeatedly pinched.
- The installer twists the connector to gain reach instead of repositioning the support point.
- A cable is dragged across concrete, gravel, or a metal bracket while still connected.
The first visible symptom may be cosmetic: a flattened jacket, whitening at a fold, a crease near the boot, or a support clip that has moved. Later symptoms can include intermittent communication, a loose connector transition, exposed reinforcement, or heat that is not explained by normal charging conditions. Never continue using a cable with damaged insulation, exposed conductors, a compromised connector, or signs of overheating; isolate it and follow the manufacturer’s service guidance.
The practical rule is simple: the cable should turn gradually, stay free from pinch points, and move through its intended path without being twisted to make up for a poor layout. The route should preserve the manufacturer’s stated clearance and bend conditions at the wallbox, the vehicle inlet, and every support point.
How should you route a cable around a wallbox?
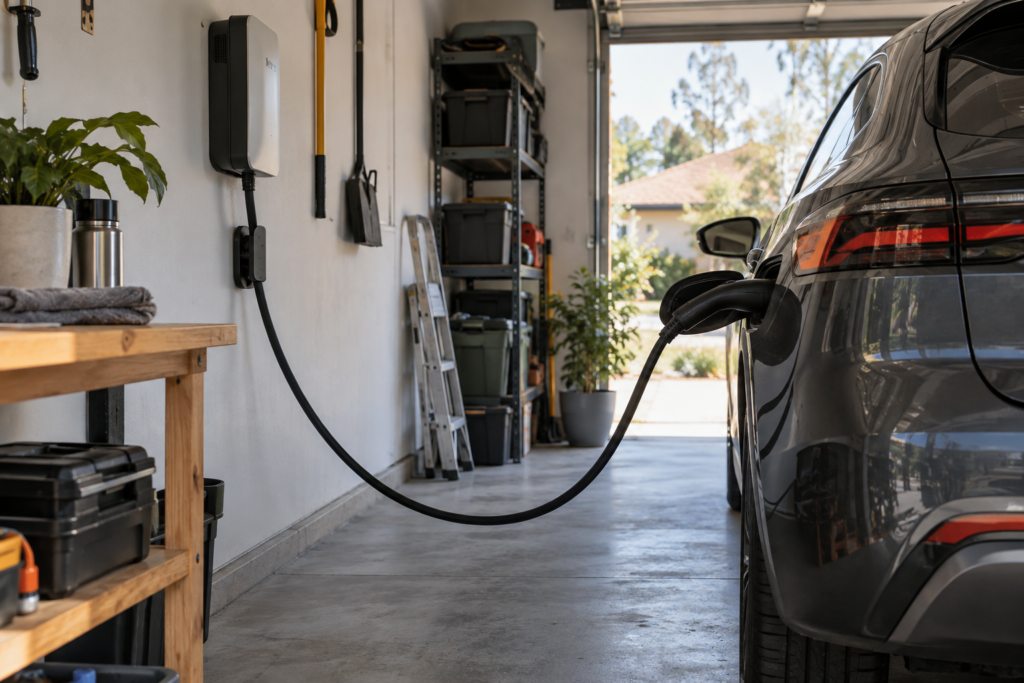
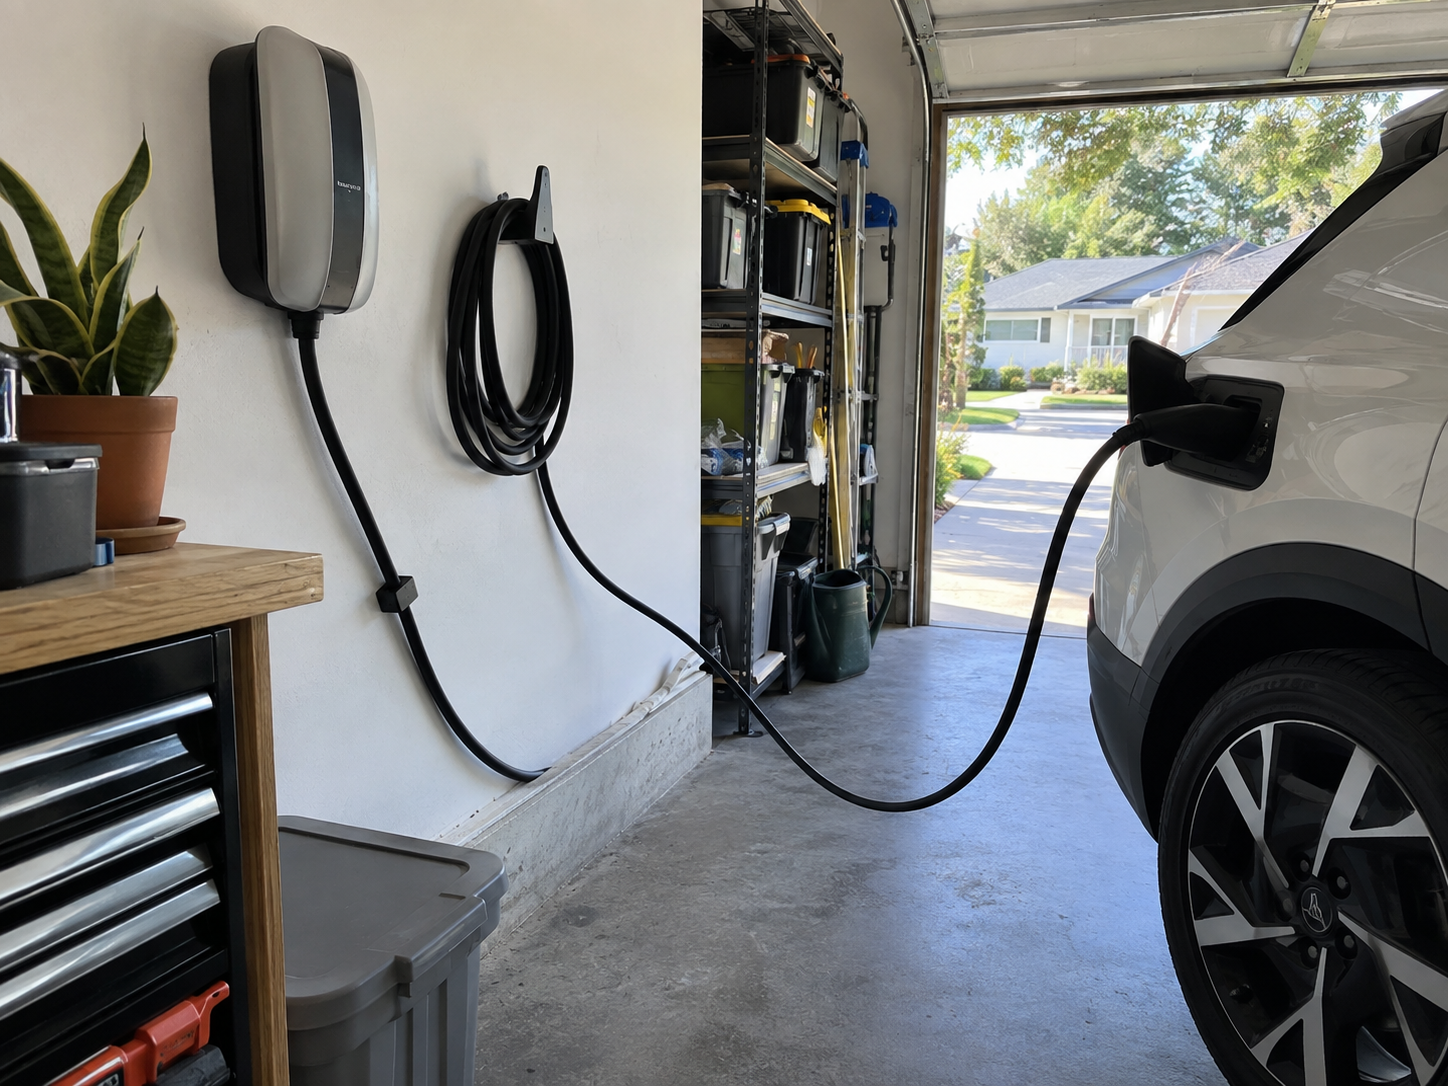
Route the cable as a complete path from the charger to the parked vehicle, with enough clearance for normal movement and enough support to keep the connector from carrying the cable’s hanging weight. A good route works when the user removes the connector, returns it to storage, opens nearby doors, and parks in the least convenient position—not only in the ideal position.
Use this sequence during a home or commercial installation:
- Identify the wallbox, cable, connector, vehicle inlet, and mounting surface. Capture the actual model references rather than relying on a product family name.
- Mark the normal parking position, the furthest practical inlet position, walking routes, doors, gates, and any vehicle or trolley path.
- Draw the cable centerline from the wallbox to the vehicle. Replace abrupt corners with gradual curves and check every curve against the cable’s datasheet.
- Place the first support point so the cable exits the charger without a hard downward pull or sideways twist. Do not use a clip that pinches the jacket.
- Add support where the cable is stored and where its weight could otherwise load the connector boot. Keep the connector handle accessible without making the cable hang from the inlet.
- Check the route at the lowest expected temperature and in the intended outdoor conditions. Outdoor charging equipment should be suitable for outdoor exposure, and a qualified electrician should assess the installation when electrical capacity or fixed wiring is involved.[3]
- Test the path with the cable connected, disconnected, coiled for storage, and returned to the holder. Record any point where the cable rubs, twists, flattens, or loses its intended curve.
| Site condition | Routing priority | Support question |
|---|---|---|
| Home garage | Simple reach, tidy storage, no door or tire pinch point | Can the user park slightly off-center without forcing the cable? |
| Workplace parking | Repeatable use by different drivers and vehicles | Is the support point obvious and durable enough for frequent handling? |
| Fleet or depot | Cycle count, cleaning, weather, and fast inspection | Can staff identify damage and return every cable to a controlled storage position? |
| Retail or public site | Misuse resistance, accessibility, and clear separation from traffic | Does the mount keep the cable out of vehicle and pedestrian paths? |
Station-side hardware should be checked with the wallbox dimensions, enclosure, fastener pattern, and surface construction. The EV charging station mounting accessories buyer guide can help buyers separate cable support from the structural requirements of mounting the charger itself.
How do strain relief and hanging weight affect a connector?
Strain relief reduces the force transferred into a cable termination by controlling how the cable exits a connector, charger, boot, housing, hook, or mount. It is a load-management feature, not a substitute for the cable’s bend rating, connector compatibility, or electrical protection.
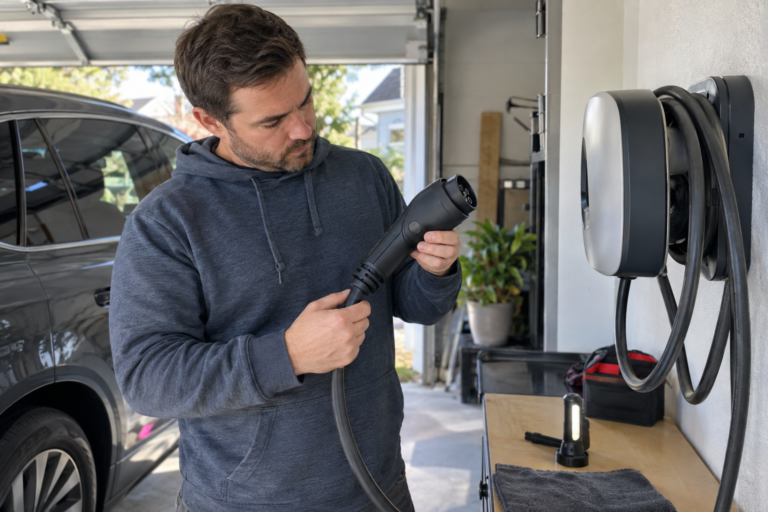
The connector handle is designed to be handled. It should not become the permanent hanger for a heavy cable unless the product documentation expressly allows that use. A better arrangement supports the cable body or a designed hanging loop, keeps the connector transition relaxed, and leaves enough slack for normal vehicle movement without allowing the cable to drag on the ground.
| Force or condition | Visible symptom to watch for | Prevention |
|---|---|---|
| Hanging weight | Boot pulled downward, connector transition angled, cable jacket stretched | Add a support point that carries the cable body or loop |
| Side pull | Latch or inlet feels loaded, cable exits at an angle | Reposition the hook or wall mount to align with the vehicle path |
| Repeated flex | Whitening, flat spots, cracks, or a crease in one location | Increase the curve and remove the repeated fold point |
| Twisting | Spiral marks, connector handle rotation, uneven cable lay | Rotate the storage direction or change the support geometry |
| Crushing | Flattened jacket, clamp marks, difficult movement | Use a correctly sized open support rather than an over-tight clamp |
| Abrasion | Scuffed jacket or wear at an edge | Add clearance, a protective surface, or a better routing path |
Do not confuse strain relief with the latch or locking mechanism. The EV charging connector locking mechanisms guide explains how retention features keep a connector seated; those features do not justify hanging the full cable weight from the vehicle inlet. A cable holder versus wall-mount site guide is useful when the decision is primarily about storage height, reach, wall position, and support load.
For a multi-vehicle site, document the support point as part of the installation, not as an optional accessory after the charger is mounted. Cable diameter, weight, bend radius, connector boot dimensions, hook opening, fastener capacity, and wall material should all be checked together.
How should you inspect an EV charging cable and its support points?
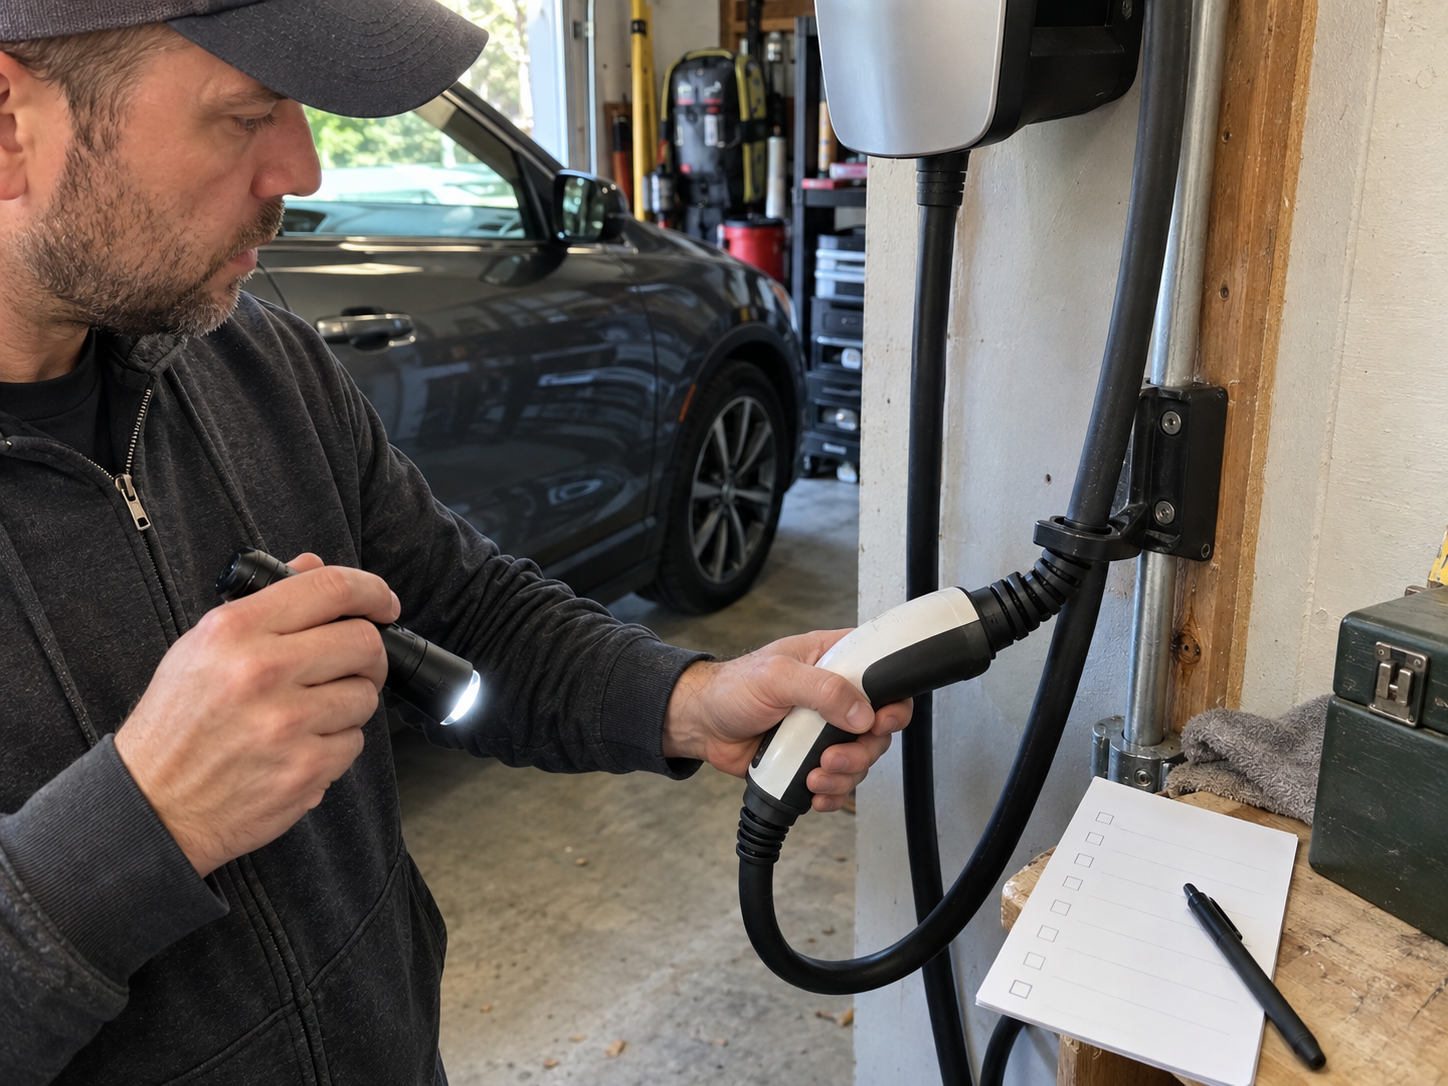
Inspect the cable before use, after installation, and at a frequency that matches handling and exposure. The check should cover the whole route—not only the connector face—because damage often starts where the cable rubs, bends, or hangs.
Use this field checklist:
- Confirm the cable label, SKU, and revision match the approved product or installation record.
- Look along the full jacket for cuts, swelling, flattening, deep scuffs, exposed reinforcement, discoloration, or a permanent kink.
- Inspect both connector boots and the cable exits for cracking, separation, pulled transitions, or unusual movement.
- Check the connector latch, inlet interface, and protective components for damage or contamination. Do not force a connector that does not seat normally.
- Follow the cable through every bend and support point. Look for sharp edges, crushed sections, clamp marks, or a curve smaller than the documented requirement.
- Confirm the holder, hook, clip, reel, or mount is secure, correctly sized, and free from cracks or loosening. Check that its fasteners remain seated in the intended surface.
- Record the condition with the date, location, cable identifier, photos, and action: pass, monitor, remove from service, or replace.
Never perform live electrical repairs as part of a visual inspection. If there is exposed conductor, heat damage, water ingress, a failed latch, repeated communication errors, or any uncertainty about safe operation, stop using the cable and escalate to the equipment manufacturer or a qualified technician. IEC 61851-1 covers general operating and safety requirements for conductive EV charging systems, so the cable and EVSE should be evaluated within the intended charging system rather than as isolated decorative parts.[2]
The EV charging cable quality inspection checklist can be used when a buyer needs a more formal sample-approval or incoming-inspection record. For labeling, ratings, and traceability fields, see EV charging cable markings explained.
Once the cable and support points pass inspection, follow the cable care and cleaning routine to keep dirt removal, storage, and stop-use checks within the product instructions.
What should buyers verify before choosing cable-routing accessories?
Buyers should specify the cable, movement, environment, and support load before comparing a holder or wall mount. The accessory is only a fit when it supports the actual cable without creating a new pinch point, bend, or side load.
| Verification area | Minimum information to request | Evidence to keep |
|---|---|---|
| Cable identity | Exact SKU, cable construction, connector type, diameter, length, and weight | Datasheet, product label, revision, and batch or serial record |
| Bend requirement | Manufacturer minimum radius, static or dynamic condition, direction, and temperature | Datasheet clause or written supplier confirmation |
| Connector transition | Boot dimensions, exit angle, latch clearance, and allowable support location | Dimension drawing and installation instruction |
| Support hardware | Holder opening, load rating, retention method, fastener size, and surface limits | Drawing, mounting guide, and load or pull-test evidence |
| Site environment | Indoor or outdoor use, UV, rain, dust, corrosion, cleaning, and temperature exposure | Environmental rating and care instructions |
| Operating path | Wallbox model, vehicle groups, parking variation, doors, traffic, and service access | Marked-up site layout and route photos |
| Acceptance test | Full reach, storage position, minimum curve, support stability, and inspection result | Sample checklist, test photos, and signed approval |
| Supply control | Spare parts, packaging, labels, change notification, MOQ, and lead time | Quotation, approved drawing, and change-control commitment |
When a supplier cannot provide the bend-radius value, support dimensions, or installation limits, treat that as an open technical item—not as permission to guess. Ask the supplier to quote the exact configuration and state inclusions, exclusions, material, fasteners, support load, sample cost, and quotation validity.
A copyable routing brief can be as short as this:
> Project / use case: > Wallbox or charger model: > Vehicle groups and inlet references: > Cable SKU, diameter, length, weight, and manufacturer bend radius: > Static or dynamic movement: > Support locations and preferred holder or mount: > Mounting surface and fastener limits: > Indoor/outdoor environment and temperature range: > Acceptance criteria: no kink, no jacket pinch, connector supported, full vehicle reach, and documented inspection photos.
This brief turns a vague request for a “strong cable holder” into a comparable sourcing requirement. It also gives a supplier enough context to recommend a support geometry without silently changing the cable route or assuming a different vehicle. Use the EV charging accessories by function page to keep the accessory categories clear, then compare the route, environment, and evidence against the requirements already recorded.
If you are selecting a holder, wall mount, or replacement cable for a defined site, share the cable diameter, weight, bend-radius requirement, wallbox model, and mounting surface together. A supplier can then review the support points against the actual use case instead of guessing from connector shape alone.
Conclusion: Support the Cable Before It Loads the Connector
The safest cable route is the one that preserves the manufacturer’s bend requirement, keeps the cable away from sharp or crushing contact, supports its weight, and remains usable through normal parking and storage movement. Treat bend radius and strain relief as installation requirements that must be proven with a cable datasheet, site path, support geometry, and inspection record.
For buyers, the useful sequence is: identify the exact cable, confirm its electrical and mechanical limits, map the route, choose support hardware, test the installed path, and record the evidence. That sequence reduces avoidable kinks, connector loading, premature replacement, and disputes about what a “compatible” accessory was expected to do.
Frequently Asked Questions
What is the minimum bend radius for an EV charging cable?
There is no universal value that applies to every EV charging cable. The correct minimum bend radius depends on the cable construction, diameter, connector transition, temperature, and whether the cable is static or repeatedly flexed. Use the exact product datasheet or obtain written confirmation from the manufacturer before finalizing a route or holder.
Can I coil an EV charging cable tightly?
Only if the manufacturer’s storage instructions allow that geometry. Avoid tight coils, permanent kinks, twisting, compression, and heat buildup. Use a holder or reel that matches the cable diameter and documented bend requirement, and keep the connector supported instead of hanging the cable from the vehicle inlet.
What is strain relief on an EV charging cable?
Strain relief is the connector boot, housing transition, clip, hook, mount, or related feature that reduces the force transferred into a cable termination. It manages handling and hanging loads, but it does not replace the cable’s bend rating, electrical limits, connector fit, or required inspection.
Does a wallbox need a cable holder?
A wallbox does not always need a separate holder, but a holder can control reach, storage, ground contact, and connector loading. Choose one only after checking cable diameter, weight, bend radius, connector clearance, wall material, fasteners, and the way different users will park and return the cable.
How do I prevent EV cable kinks?
Plan the complete path, maintain the manufacturer’s bend radius, avoid twisting and sharp edges, support the cable body, and keep it away from doors, tires, and traffic. Inspect the jacket and connector transitions regularly. If a kink or flattened section remains after the route is corrected, remove the cable from service for evaluation.
References
[1] International Electrotechnical Commission. “IEC 62196-1:2022, Plugs, socket-outlets, vehicle connectors and vehicle inlets — General requirements.” 2022.
[2] International Electrotechnical Commission. “IEC 61851-1:2017, Electric vehicle conductive charging system — Part 1: General requirements.” 2017.
[3] U.S. Department of Energy, Alternative Fuels Data Center. “Charging Electric Vehicles at Home.” n.d.
[4] U.S. Department of Energy, Alternative Fuels Data Center. “Electric Vehicles for Consumers.” n.d.