



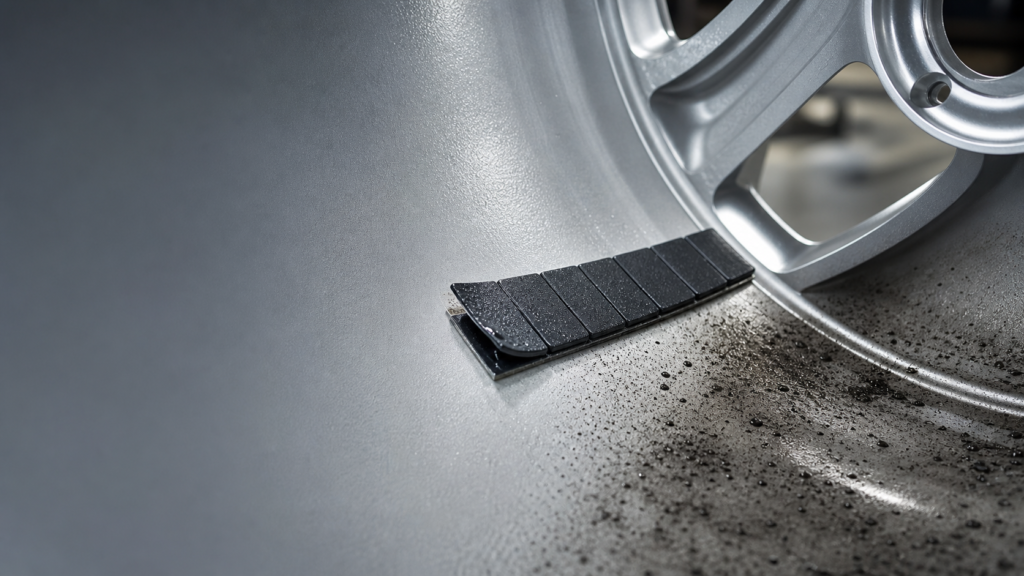
Adhesive wheel weights usually fall off because the tape never achieved full contact with the wheel—not simply because the tape was “bad.” Brake dust, oil, moisture, cold surfaces, weak application pressure, touched adhesive, and an unsuitable curved or obstructed mounting area can each weaken the bond. Diagnose the installation process before changing products.
Table of Contents
- Why do adhesive wheel weights fall off?
- How does surface contamination cause wheel-weight failure?
- How do temperature and condensation affect adhesion?
- How do pressure, liner handling, and contact affect the bond?
- How do curvature and placement create repeat failures?
- How should a technician diagnose a lost wheel weight?
- What should buyers validate before ordering adhesive weights?
- Conclusion: Build adhesion into the process
- Frequently Asked Questions
- References
Why do adhesive wheel weights fall off?
Adhesive wheel weights fall off when the wheel, tape, installation conditions, and mounting geometry do not work together. A segmented strip may appear firmly attached at the balancer yet release after road heat, water exposure, vibration, and centrifugal force reveal a weak interface. The useful question is therefore not “Which tape failed?” but “Where did the intended bond break down?”
Stick-on weights are a practical choice where appearance matters and a rim has no suitable flange for a hammer-on clip. They are common on alloy wheels, but their performance depends on a controlled application. That is the trade-off described in our clip-on vs. stick-on wheel weights comparison: the adhesive system protects the visible outer rim, while the installer must prepare the hidden mounting surface correctly.
Start with the broader wheel balance weights guide if the balancing method or weight style is still undecided. Once adhesive weights are the right format, inspect these six factors in order:
| Checkpoint | What a failure can look like | Practical prevention |
|---|---|---|
| Rim surface | Dust, silicone, tire lubricant, old foam, moisture | Clean and dry the exact mounting lane |
| Temperature | Cold wheel, cold tape, or condensation | Let components reach a suitable, dry working condition |
| Tape handling | Adhesive touched, liner removed too early, tape edge damaged | Handle the weight body and remove liner only when ready |
| Pressure | Strip rests on the wheel without full wet-out | Press along the entire strip with consistent force |
| Geometry | Bridging a spoke transition, recess, texture, or tight curve | Use the intended flat/continuous inner-barrel area |
| Process consistency | One installer succeeds while another loses weights | Standardize cleaning, placement, pressure, and inspection |
The table is a troubleshooting sequence, not a claim that every lost weight has one cause. A wheel that returns without a weight may have encountered a pothole or a damaged rim; however, repeat loss across multiple wheels, operators, or shifts nearly always warrants a process review.
How does surface contamination cause wheel-weight failure?
Surface contamination prevents the adhesive from contacting the wheel’s actual finish. Brake dust, road film, oil, tire-mounting lubricant, silicone-containing dressings, hand oils, water, and residue from an old strip can leave an invisible barrier. The weight then sticks to that barrier rather than to the wheel. Under service loads, the contaminant layer separates or allows the tape to peel from an edge.
This is why a quick wipe over the general barrel is not the same as preparing the precise lane where the strip will sit. Identify the placement position first. Remove old adhesive and loose debris without gouging the finish, then clean the full contact area with a material appropriate for the wheel and the tape supplier’s instructions. Finally, allow the surface to dry completely. 3M’s wheel-weight guidance specifically identifies dust and fluids as tape-performance risks and calls for a clean, dry mounting surface.1
Do not make a clean surface dirty again. A common hidden failure is cleaning the barrel, then marking the position with a bare finger, setting the weight down adhesive-side first, or brushing the exposed tape against a dusty tool tray. Those actions are small, but pressure-sensitive adhesives are designed to meet the substrate directly.
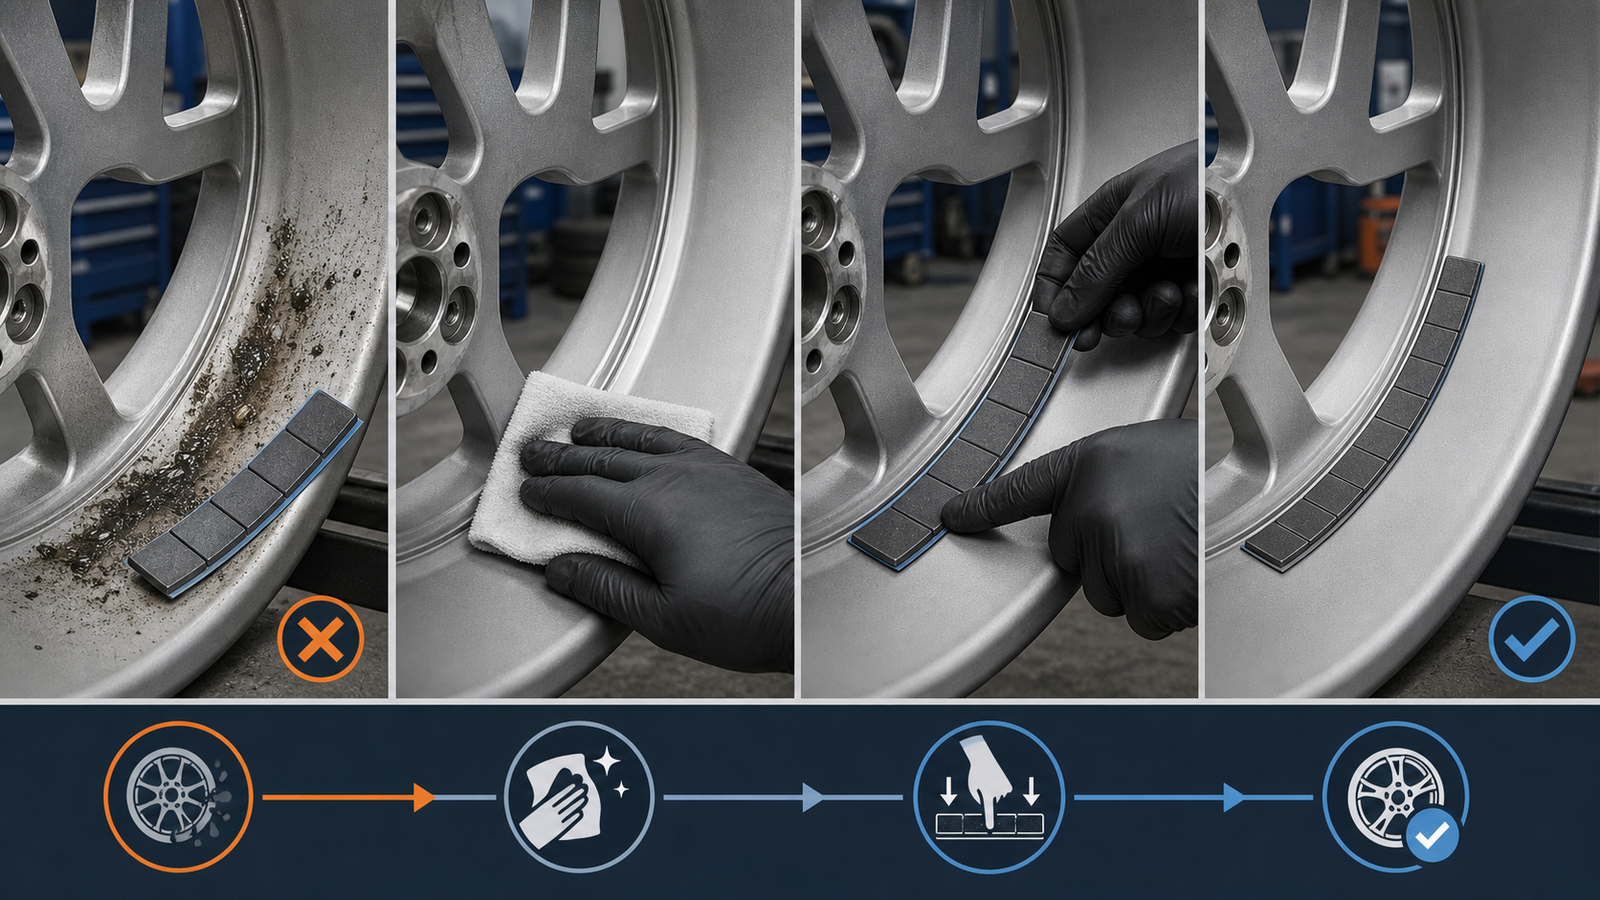
If the returned strip still has a substantial adhesive layer on its back but carries dirt or a greasy film, surface preparation is a more likely starting point than a formulation defect. If pieces of clearcoat or finish are attached, pause the normal replacement routine and assess the wheel finish and removal history instead.
How do temperature and condensation affect adhesion?
Low temperature can make a tape less able to conform quickly to the small texture and curvature of a wheel, while a cold wheel moved into humid air can develop condensation. Both conditions reduce immediate contact. The technician may press a strip that looks secure, but a microscopic moisture film or incomplete initial wet-out can leave an easy path for later peeling.
The solution is not to memorize one universal temperature number. Tape construction, wheel coating, local climate, and the supplier’s application specification all matter. Instead, make temperature part of the work instruction: store adhesive weights away from extreme cold, avoid applying them to a visibly cold or wet wheel, and allow the rim and product to stabilize before installation. 3M’s application guide similarly warns that a cold wheel can condense moisture and that moisture can reduce short-term adhesion.1
Hot conditions deserve attention as well. A wheel just removed from hard driving or a work area exposed to direct heat may not be ready for an immediate adhesive application. Let the wheel reach the supplier-recommended range, and use a practical temperature check where seasonal conditions make that necessary. The objective is a dry, stable interface—not a rushed installation.
Temperature should be recorded during failure analysis. If weights are lost mainly in the first cold mornings of the season, in a wash-bay-adjacent station, or immediately after wheels move from storage to a warm shop, the pattern points toward conditions rather than random tape quality.
How do pressure, liner handling, and contact affect the bond?
Adhesive tape needs firm, even pressure to make full contact across the mounting surface. Pressing only the center of a strip, tapping the ends, or relying on the weight’s own mass leaves sections that may not fully wet out. An unbonded edge is a natural place for water, dirt, and flexing to begin a peel.
Use a repeatable motion: align the strip, set one end without dragging it across the rim, then press progressively along the entire length. Give extra attention to both ends and to any segment that follows a curve. The aim is full contact, not merely a visually straight strip. A simple visual and fingertip inspection after pressure can catch a lifted corner before the wheel leaves the bay.
Liner handling matters just as much. Remove the release liner only when the placement lane is clean, dry, and ready. Hold the weight by the body, not the exposed adhesive. Do not re-use a strip that has been placed, removed, and placed again unless its manufacturer explicitly permits it; rework can introduce dust, stretch the tape, or distort the contact surface.
The 3M guide also advises avoiding contact with the exposed adhesive and avoiding bridge-like placement over wheel features.1 These are not cosmetic preferences. Touch contamination and a bridged gap each reduce the real contact area—the area that must carry the service load.
How do curvature and placement create repeat failures?
Incorrect geometry can make a perfectly clean, correctly pressed strip fail. The inner barrel of an alloy wheel often contains changes in radius, casting texture, spoke transitions, safety humps, and recessed details. If a rigid or segmented weight bridges one of these features, the tape is supported at two points with a void between them. Road loads and thermal movement can concentrate stress at the exposed edge until it peels away.
Choose a continuous mounting lane designed for the weight format. Check that the strip lies flush before removing its liner. Where a rim has a tight radius, use the correct segment length and construction instead of forcing a long strip across the bend. A shorter, accurately fitted solution is usually more reliable than a larger strip that looks convenient at the balancer.
Placement also has to match the balancing program. Moving a weight simply to avoid a difficult surface can change the correction plane and compromise the result. Confirm the balancer’s recommended location, then select the closest suitable clean, continuous surface that preserves that correction strategy. For context on why the location is not arbitrary, review the balance principles in the rim preparation before a replacement adhesive weight.
Do not treat a bad flange as a reason to force an adhesive strip into an unsuitable barrel. Some wheel-and-vehicle combinations may be better served by another approved weight format or a different balancing mode. The product choice should follow rim design, clearance, appearance requirements, and the service procedure—not habit.
How should a technician diagnose a lost wheel weight?
Diagnose a lost weight from evidence, not from the empty spot alone. First, rebalance the wheel and inspect the rim closely. Determine whether the strip released cleanly, left adhesive behind, carried contamination, or took finish with it. Then compare the returned wheel with a control wheel that has retained its weight. The contrast often reveals the real variable.
Use this short diagnostic sequence:
- Confirm the balancing correction and inspect the wheel for impact damage, curb contact, or an unsuitable mounting lane.
- Examine the release pattern: adhesive remaining on the rim, adhesive remaining on the weight, contaminated adhesive, and damaged clearcoat each suggest different next checks.
- Trace the installation conditions: cleaning product, drying time, operator handling, wheel/tape temperature, pressure method, and any rework.
- Check geometry with a sample strip before installing a replacement. Look specifically for bridged edges and gaps at transitions.
- Reinstall using the documented process, then monitor similar wheels from the same station, lot, and environmental period.
This approach prevents a costly but ineffective “change the tape” response. It also protects the balancing result: a wheel should be rechecked after a lost correction mass rather than receiving a replacement strip by visual guesswork. If a shop sees repeated losses, retain samples and photos from the same production lot so the supplier can investigate with meaningful evidence.
What should buyers validate before ordering adhesive weights?
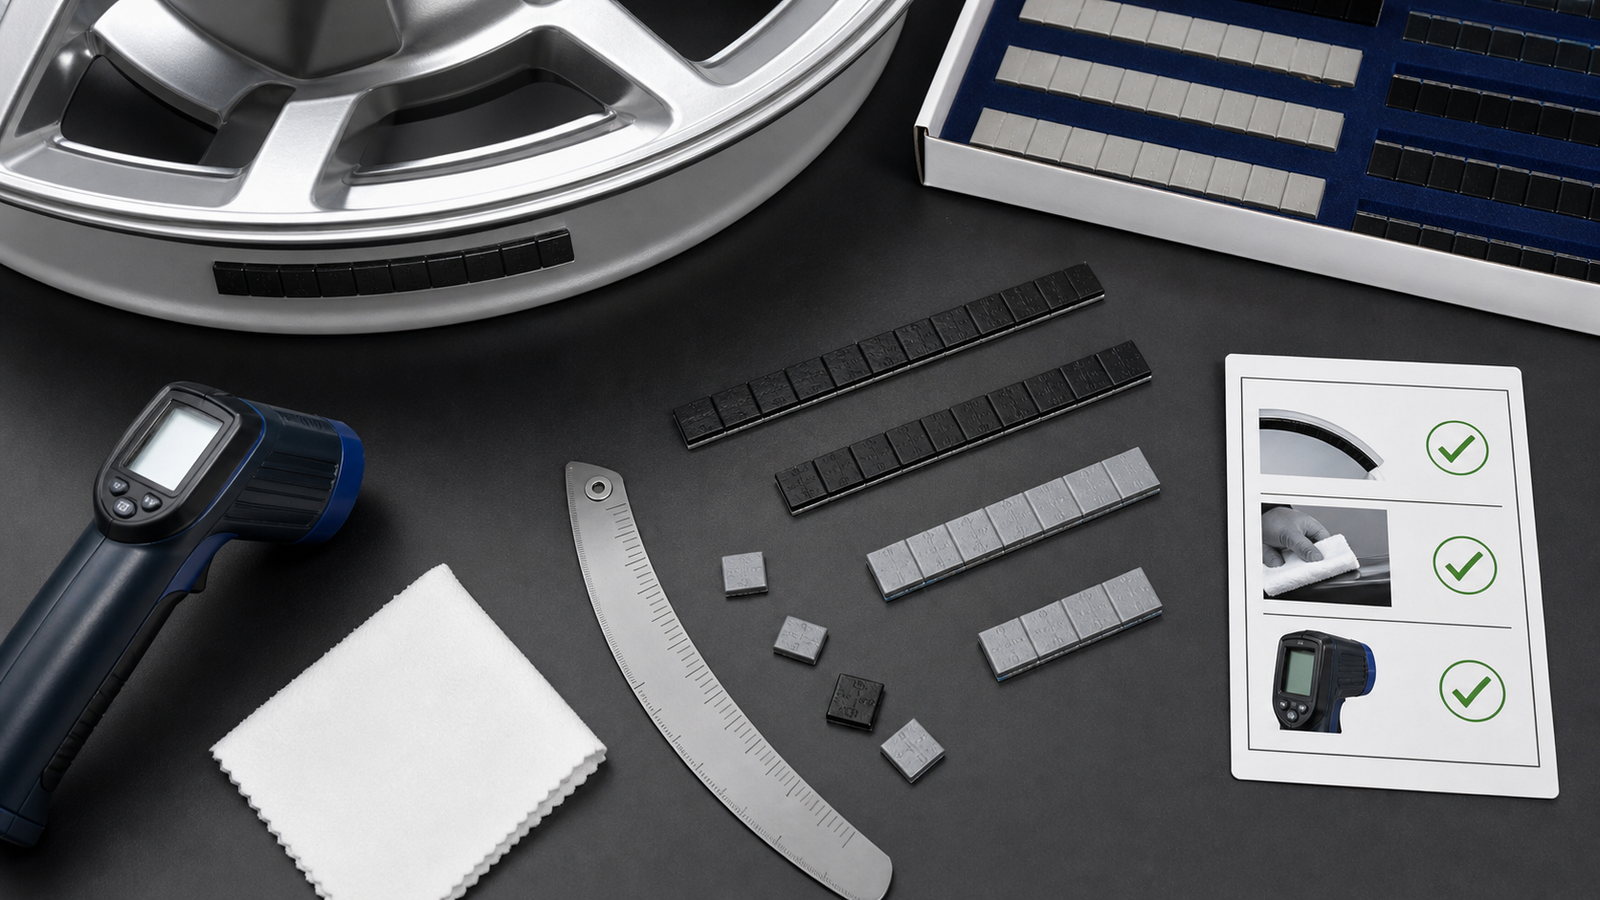
Buyers should validate adhesive weights on representative wheel finishes and real workshop conditions, not only on a flat laboratory coupon. A procurement decision should cover the strip’s mass increments and coating, but also the tape’s application window, liner behavior, curvature fit, packaging protection, and the supplier’s written preparation guidance.
Request a small sample set from the relevant wheel balancing weights range and test it across the rims that create the most complaints: highly curved barrels, textured finishes, common painted alloys, and wheels handled in cool or humid seasons. Document the exact cleaner, drying interval, application pressure, and conditions for every sample. That makes the result comparable from one location to another.
Ask a supplier practical questions before placing volume orders:
- Which rim finishes and mounting conditions does this tape system target?
- What surface-preparation method, temperature range, pressure, and dwell time does the supplier specify?
- How should unopened cartons and partially used strips be stored?
- Which strip dimensions and segment patterns best fit our highest-volume wheels?
- What samples, lot identification, and technical support are available if a field issue occurs?
The best value is not the lowest strip price in isolation. It is a fit-for-purpose adhesive system with a process that technicians can execute consistently. If you are comparing formats for an alloy-wheel program, use the buyer-side adhesion test conditions to identify the weight construction and request application guidance alongside samples.
Conclusion: Build adhesion into the process
Adhesive wheel weights fall off when the bond is compromised by contamination, moisture, unsuitable temperature, poor handling, inadequate pressure, or a mounting surface that does not let the strip lie flush. Treat the event as a process diagnosis. Clean and dry the exact lane, protect the exposed adhesive, press every segment into full contact, and verify the weight fits the actual rim geometry before the wheel goes back into service.
For recurring failures or a new wheel program, request representative samples and validate them with the same wheels, temperatures, cleaning routine, and technicians used in normal operation. That creates a dependable basis for specifying the right adhesive wheel-weight system.
Frequently Asked Questions
Can I stick an adhesive wheel weight back on after it falls off?
Usually, a replacement strip is the safer choice. A fallen strip may have collected dust, moisture, oils, or damage at its tape edge. Clean and dry the wheel again, rebalance if necessary, and apply a new weight according to the supplier’s process.
Why did a stick-on weight fall off right after a tire service?
Tire lubricant, water, brake dust, handling, or a rushed application are common possibilities. The wheel may also have been cold or wet. Inspect the mounting lane and the remaining adhesive before assuming the product is defective.
Does stronger tape solve every wheel-weight adhesion problem?
No. Tape strength cannot compensate reliably for oil, moisture, incomplete pressure, touched adhesive, or a strip that bridges a rim feature. A compatible tape and a controlled application process are both required.
How long should I wait before driving after applying adhesive wheel weights?
Follow the weight supplier’s documented application and service instructions. Avoid treating a generic wait time as universal because tape design, temperature, surface condition, and the manufacturer’s specification can differ.
Are adhesive wheel weights only for alloy wheels?
They are widely used on alloy wheels because they can be concealed on the inner barrel and avoid a clip on the visible flange. Suitability still depends on the rim’s mounting surface, wheel design, service procedure, and the approved balancing method.
References
[1] 3M Wheel Weight System Application Guide. 3M, n.d. Accessed July 24, 2026.
[2] 3M Wheel Weight Surface Prep 2000. 3M, n.d. Accessed July 24, 2026.